Creating an Account
Create Account with Shipping Address and Postal Code.
Made by Dwight Britten with Scribe
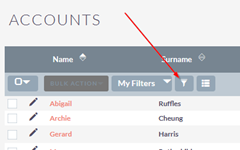
From1. Click "Accounts"
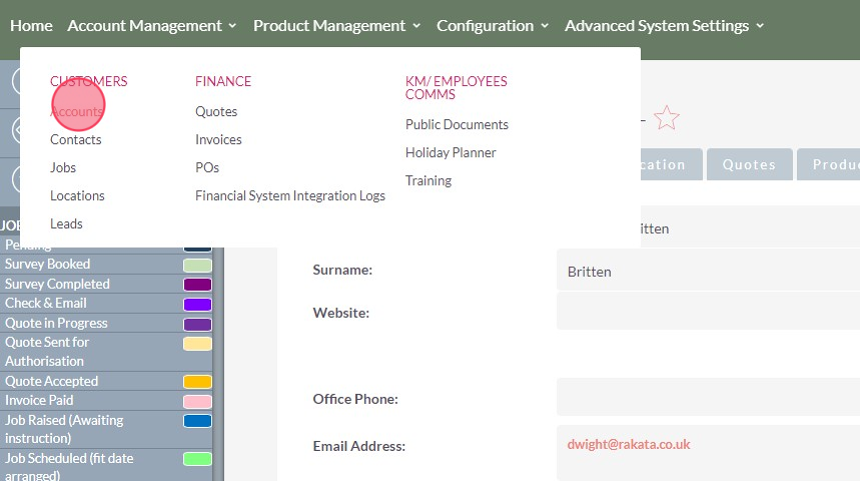
2. To search to see if the mainAccount homealready screen:exists click this link the filter icon.


It
Clickis herepossible to accesssearch on multiple options to narrow your search. E.g. you can search on the Accounts screen:surname and email address at the same time. NB: The search will only return matches where there is an exact match to both options.
here.
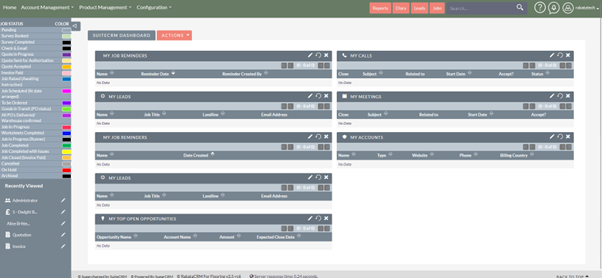
YouTip: willTo be presented with a list of allset the Accountssearch either scroll down to the search button or simply press Enter on the system: keyboard.
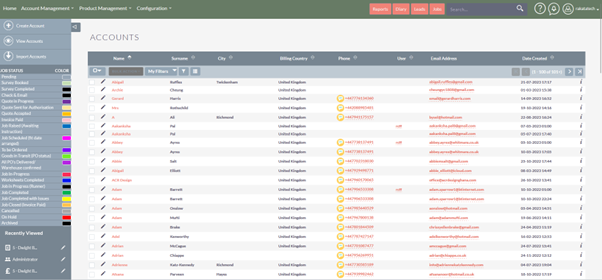
You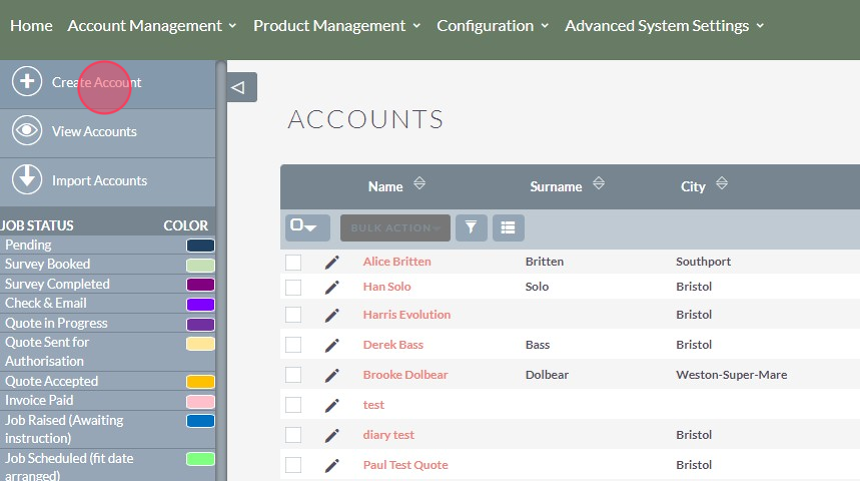
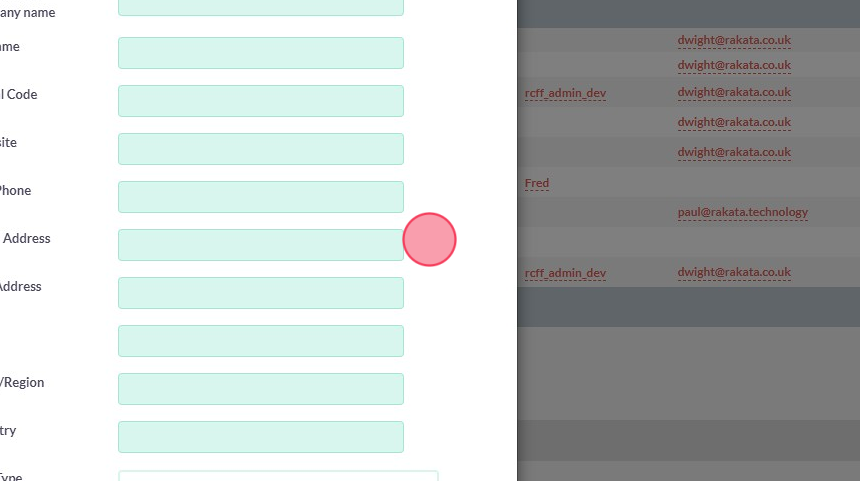
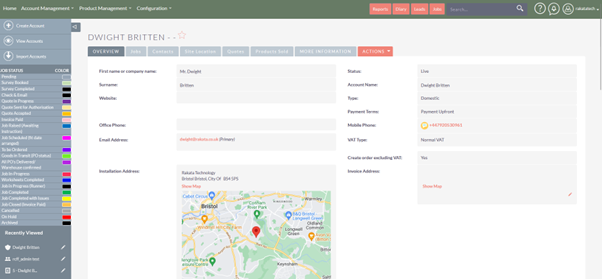
5. Add Account details.
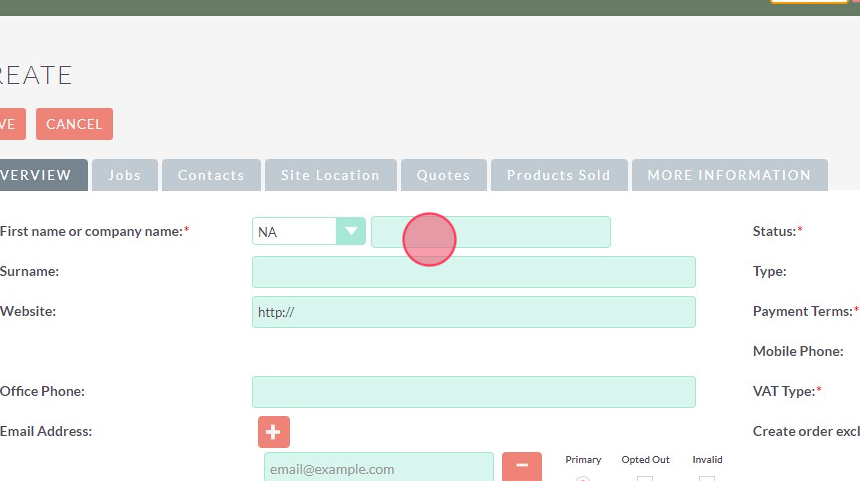
Tip: There are ableonly 3 required fields to create an Account however the more detail the better the administrator experience.
6. Enter the Installation address of the 1st Job if required. If the job is within the UK we recommend using the Post Code lookup to search for anthe existingaddress.
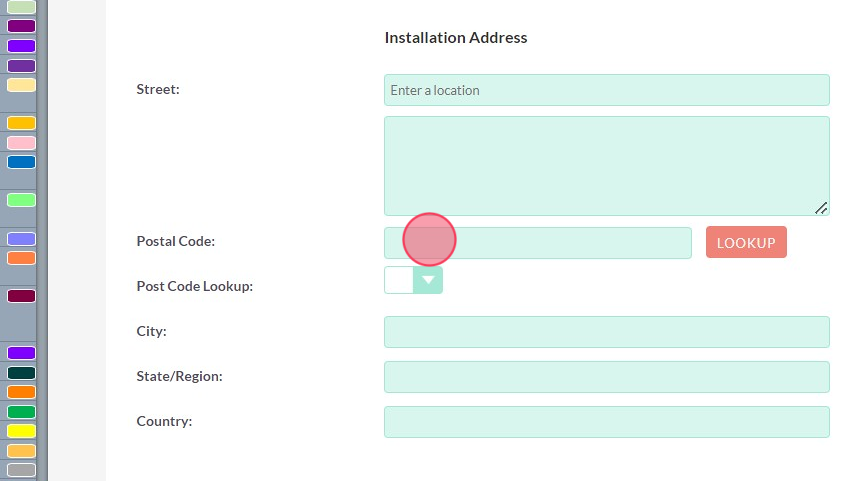
Tip: Tip! It is not necessary to add a installation address at this stage. For example if this was a corporate customer or landlord with multiple addresses you may leave this blank and then add specific installation locations when create jobs.
7. Add the filterPost Code and click this Lookup field.
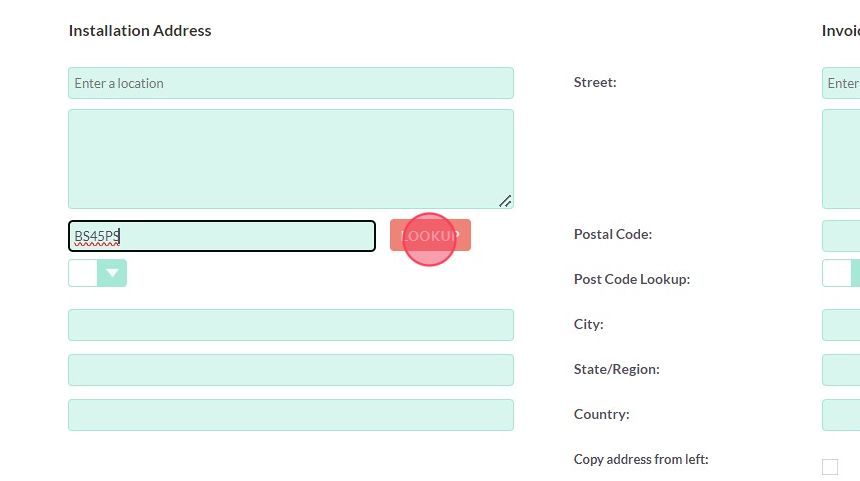
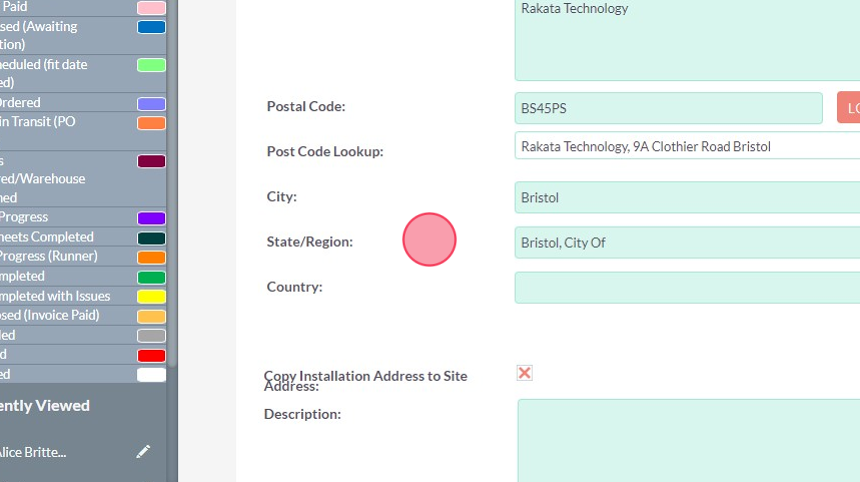
8. Search the List of Addresses based on the Post Code
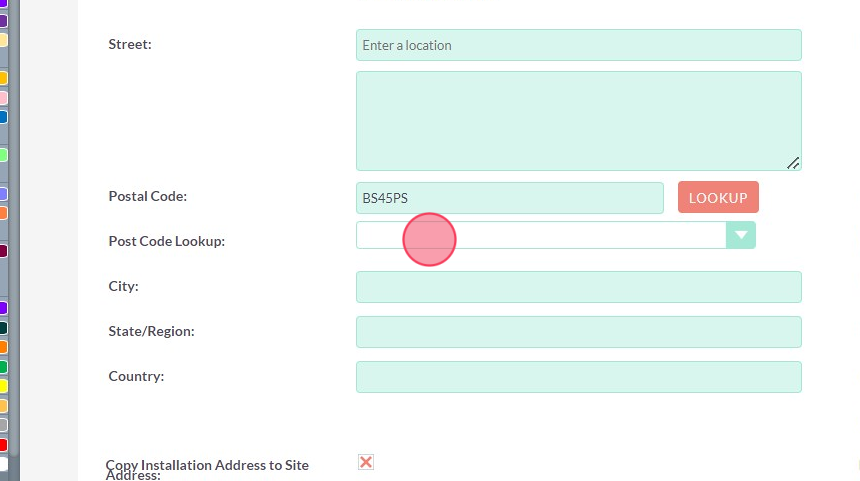
9. Click "State/Region:"
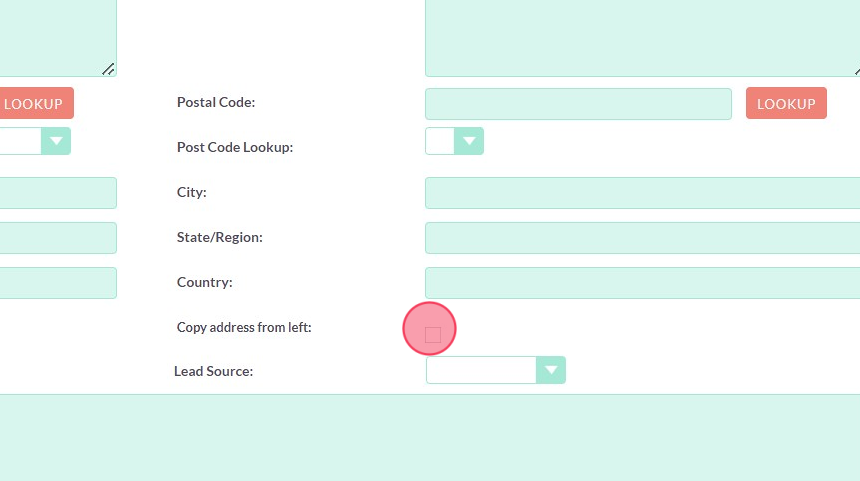
10. If the Installation address is also the Invoice address click the copy field to populate the invoice address.
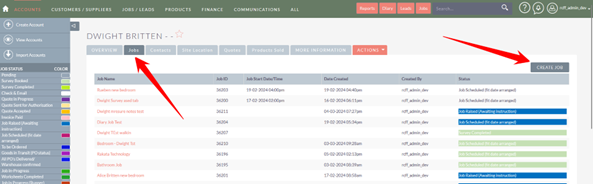
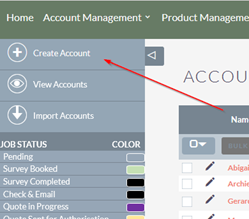
11. Click this save button to ensure that the client doesn’t already exist on the system:

Ifcreate the Account doesn’t exist, you can create it using the button top left:
Complete the screen as presented. Some fields are mandatory and must be completed and these are marked with *. Other fields are not mandatory and may filled in as applicable. Make sure you complete the Installation Address accurately as this is used later in the workflow.

Once you have completed the screen press Save and you will see your newly created Account.
If you want to create a job directly from the Account then clicks the ‘Jobs’ tab and ‘Create Job’